1. styles.css 파일을 만든다.
2. css 내용을 채운다. css 내용은 강사님이 이미 만들어 놓은 것을 따라 적었다.
3. css 폴더를 만들어 styles.css 파일을 넣는다.
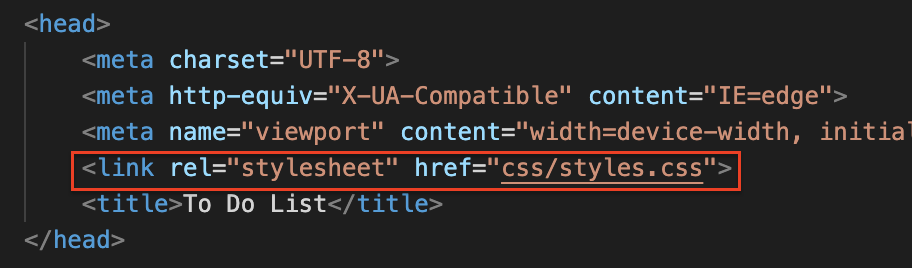
4. index.ejs 에서 css 링크를 건다. (안됨)
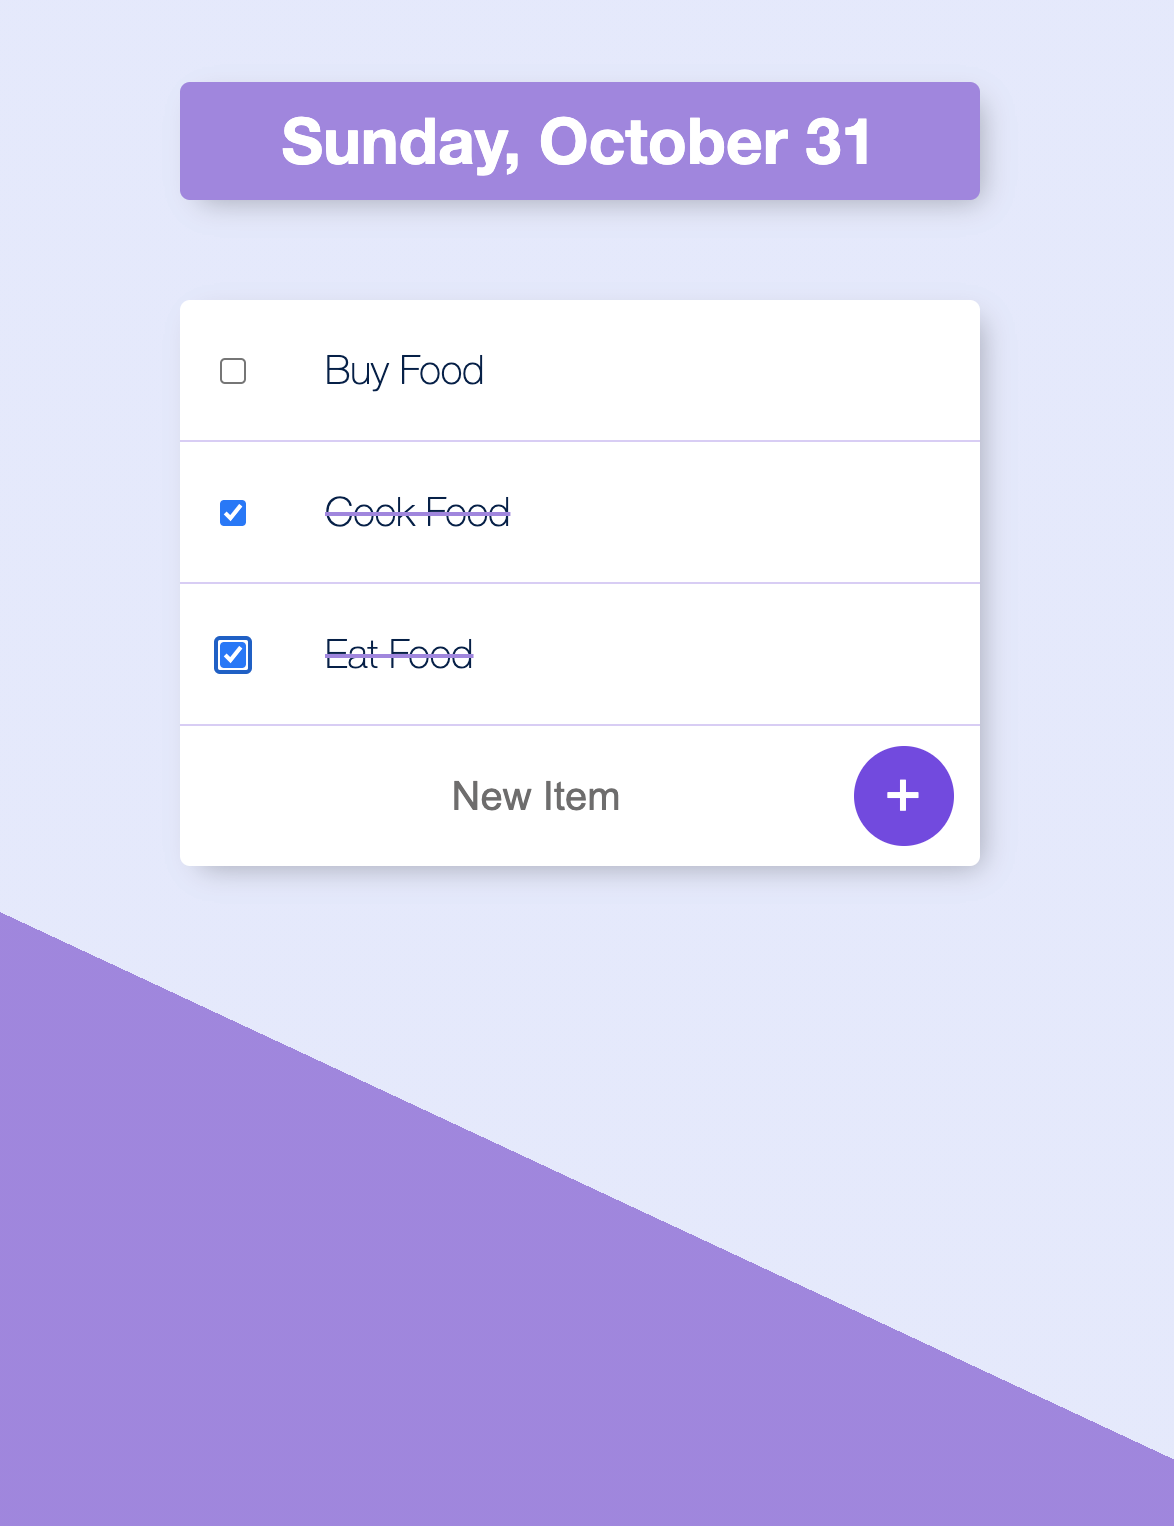
이 전에는 컴퓨터 안에서 연습할 때 위 처럼하면 바로 화면에 떴지만
이제는 아무런 적용이 되지 않는 것을 발견할 것이다.
express는 자동으로 모든 폴더를 서버에서 보여주지 않는다.
메인 access 포인트인 app.js와 views 폴더에 있는 것을 기본으로 보여준다.
css 파일은 https://localhost:3000/css/styles.css로 찾을 수 없다는 말이다.
그럼 express에 css도 서버에서 나오게 하라고 명령 해야한다.
css 파일 뿐만 아니라, 이미지, 사운드, 바닐라 자바스크립트도 같은 상태에 있다.
아래 방법을 사용해서 서버에서 적용되도록 한다.
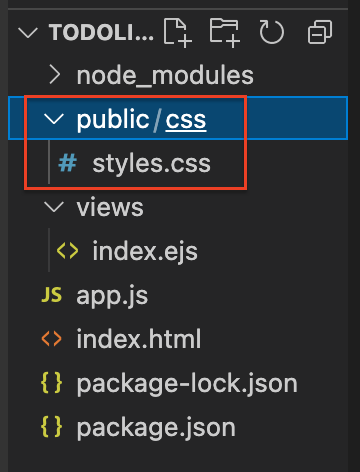
5. public 폴더를 만들어서 이 폴더를 서버에서 돌릴 수 있게 한다.
public 폴더 안에 css 폴더를 넣는다.
6. static 파일의 위치를 "public" 으로 설정해 준다.

7. index.ejs 코드 변경하기
<!DOCTYPE html>
<html lang="en">
<head>
<meta charset="UTF-8">
<meta http-equiv="X-UA-Compatible" content="IE=edge">
<meta name="viewport" content="width=device-width, initial-scale=1.0">
<link rel="stylesheet" href="css/styles.css"> public 폴더 안에 있다고 경로에 추가하지는 않음
<title>To Do List</title>
</head>
<body>
<div class="box" id="heading">
<h1>
<%= kindOfDay %>
</h1>
</div>
<div class="box">
<% for (var i=0; i<newListItems.length; i++){ %>
<div class="item">
<input type="checkbox">
<p>
<%= newListItems[i] %>
</p>
</div>
<% } %>
<form class="item" action="/" method=post>
<input type="text" name="newItem" placeholder="New Item" autocomplete="off">
<button type="submit" name="button">+</button>
</form>
</div>
</body>
</html>
css 코드 설명
.item:last-child {
border-bottom: 0;
}
div안 모든 아이템들을 살펴보고서 last-child를 찾아 타겟팅한다.
그리고서 특정 스타일(border-bottom)을 적용한다.
input:checked+p {
text-decoration: line-through;
text-decoration-color: #A683E3;
}
인풋에 체크를 하면 <p> 전체에 안의 내용(보라색 취소줄)이 적용된다.

input[type="checkbox"] {
margin: 20px
}
index.ejs에는 checkbox와 text 두가지 type의 input이 있는데
그 중에서 checkbox에만 적용시키라는 뜻이다.
::placeholder {
color: rgb(110, 109, 109);
opacity: 1;
}
psudo selector 이다. placeholder를 타겟으로 해서 그 안에 들어가는 텍스트에 효과를 준다.
selectors 참고 하기
https://www.w3schools.com/cssref/css_selectors.asp
하나하나 보면서 공부하려 하지말고,
뭔가 만들다가 필요한 게 있을 때 찾아보는 것이 효율적이다.
다음 포스트에서는 work라는 새로운 페이지를 만들어
그 페이지 들어가면 to do list가 따로 만들어지게 해보자.
css 코드 전체 보기
html {
background-color: #E4E9FD;
background-image: -webkit-linear-gradient(65deg, #A683E3 50%, #E4E9FD 50%);
min-height: 1200px;
font-family: 'helvetica neue';
}
h1 {
color: #fff;
padding: 10px;
}
.box {
max-width: 400px;
margin: 50px auto;
background: white;
border-radius: 5px;
box-shadow: 5px 5px 15px -5px rgba(0, 0, 0, 0.3);
}
#heading {
background-color: #A683E3;
text-align: center;
}
.item {
min-height: 70px;
display: flex;
align-items: center;
border-bottom: 0.5px solid #dbcbf7;
}
.item:last-child {
border-bottom: 0;
}
input:checked+p {
text-decoration: line-through;
text-decoration-color: #A683E3;
}
input[type="checkbox"] {
margin: 20px
}
p {
margin: 0;
padding: 20px;
font-size: 20px;
font-weight: 200;
color: #00204a;
}
form {
text-align: center;
margin-left: 20px;
}
button {
min-height: 50px;
width: 50px;
border-radius: 50%;
border-color: transparent;
background-color: #7a46d3;
color: #fff;
border-width: 0;
font-size: 2rem;
}
input[type="text"] {
text-align: center;
height: 60px;
top: 10px;
border-style: none;
background: transparent;
font-size: 20px;
font-weight: 200;
width: 313px;
}
input[type="text"]:focus {
outline: none;
box-shadow: inset 0 -3px 0 0 #A683E3;
}
::placeholder {
color: rgb(110, 109, 109);
opacity: 1;
}
footer {
color: white;
background-color: rgba (0, 0, 0, 0.5);
text-align: center;
}
app.js 코드 전체 보기
const express = require("express");
const bodyParser = require("body-parser");
const app = express();
app.set('view engine', 'ejs');
app.use(bodyParser.urlencoded({ extended: true }));
app.use(express.static("public"));
let items = ["Buy Food", "Cook Food", "Eat Food"];
app.get("/", function(req, res) {
let today = new Date();
// let dayOfTheWeek = today.getDay();
let day = "";
let options = {
weekday: 'long',
month: 'long',
day: 'numeric'
};
day = today.toLocaleDateString("en-US", options);
res.render('index', { kindOfDay: day, newListItems: items });
});
app.post("/", function(req, res) {
let item = req.body.newItem;
items.push(item);
res.redirect("/");
});
app.listen(3000, function() {
console.log("server is running on port 3000");
});
'Node.js > EJS (Embedded JavaScript Templating' 카테고리의 다른 글
| To Do List 9 ] Templating VS Layouts | header.ejs footer.ejs 따로 빼서 연결 (0) | 2021.11.02 |
|---|---|
| To Do List 8 ] work 페이지에서도 To Do List 되기 (0) | 2021.11.01 |
| To Do List 6 ] Scope | Local | Globe (0) | 2021.11.01 |
| To Do List 5] 할일 입력하기 | res.redirect() | 아이템 입력시 ul에 자동 추가되게하기 (0) | 2021.10.30 |
| To Do List 4] tolocaleDateString( ) (0) | 2021.10.30 |


댓글