Material UI
앱에 스타일을 더 추가해보자.
Material UI 다운 받는다.
https://mui.com/material-ui/getting-started/installation/
npm install @mui/material @emotion/react @emotion/styled
Material icon 다운
npm install @mui/icons-material
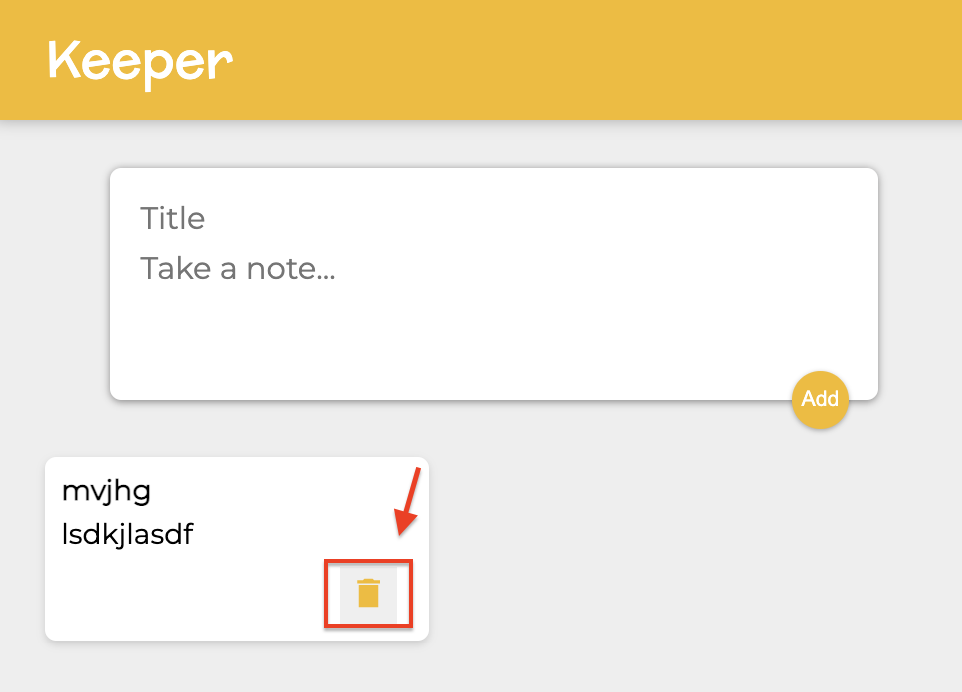
Note에 있는 DELETE 글자를 아이콘으로 바꿔보자.

원하는 아이콘을 찾은 다음 (아이콘보기)

아이콘을 클릭해 주소를 복사한 후 Note에 import 한다.

원하는 자리에 < /> 형태로 입력한다.

모양이 바뀐 것을 볼 수 있다.
Keerper에 Hightlight 아이콘 넣기
Highlight 아이콘을 검색한 후
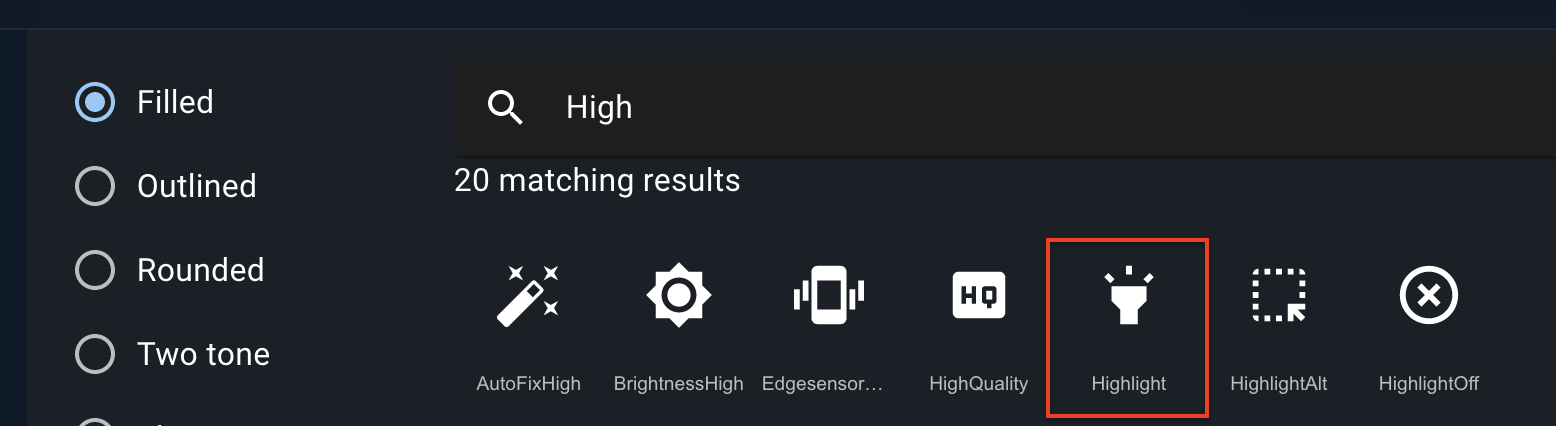
<h1> 태그 안에 넣는다.

아이콘이 잘 들어간 것을 볼 수 있다.

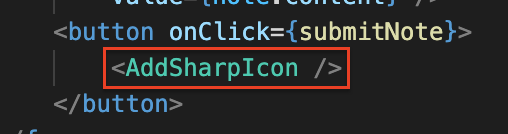
Add 아이콘 바꾸기
CreateArea.js에서

버튼을 아이콘으로 바꿔준다.

아이콘에 에니메이션 주기
Material UI -> Inputs -> Floating Action Button(Fab) (바로가기)로 간다.
< >을 눌러서 import Fab을 원하는 페이지에 붙인다.

CreateArea.js에 붙이고서

<button> 태그를 <Fab>으로 바꿔준다.

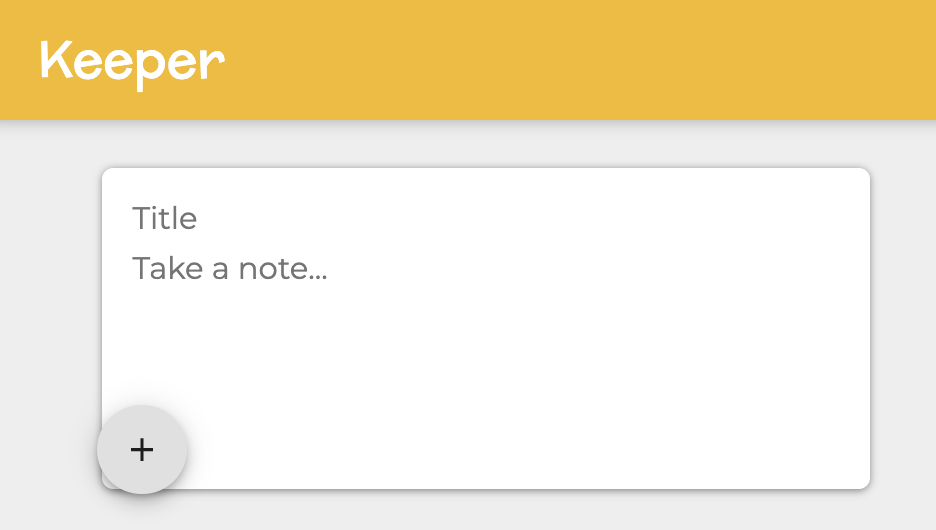
<button> 태그를 지웠더니 모양이 바뀌어버렸다.
CreateArea.css 내용을 다음과 같이 채운다.
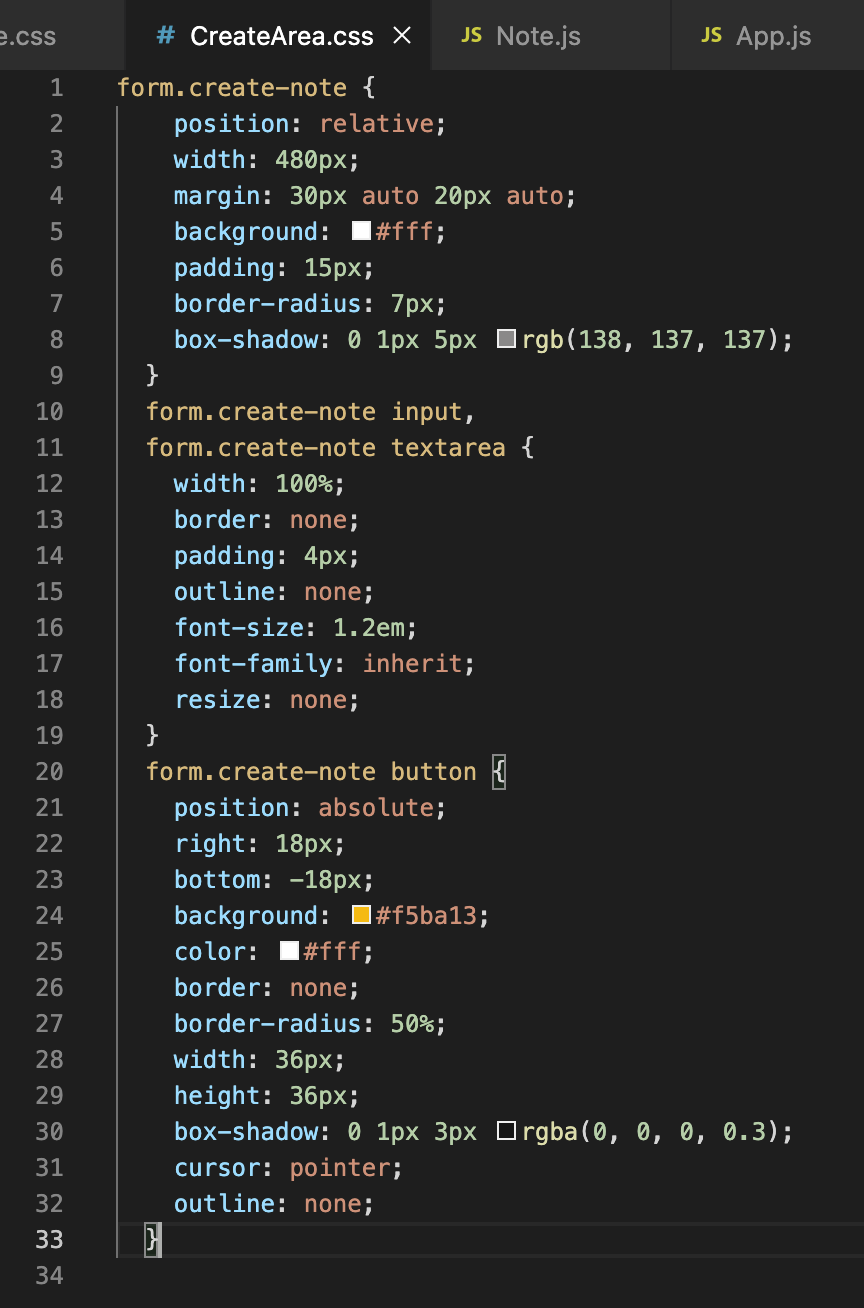
form.create-note {
position: relative;
width: 480px;
margin: 30px auto 20px auto;
background: #fff;
padding: 15px;
border-radius: 7px;
box-shadow: 0 1px 5px rgb(138, 137, 137);
}
form.create-note input,
form.create-note textarea {
width: 100%;
border: none;
padding: 4px;
outline: none;
font-size: 1.2em;
font-family: inherit;
resize: none;
}
form.create-note button {
position: absolute;
right: 18px;
bottom: -18px;
background: #f5ba13;
color: #fff;
border: none;
border-radius: 50%;
width: 36px;
height: 36px;
box-shadow: 0 1px 3px rgba(0, 0, 0, 0.3);
cursor: pointer;
outline: none;
}
form 태그에 create-note 클래스를 넣어준다.

다시 원래 모습으로 돌아왔다.

'React > Keeper-app | To-Do-app clone' 카테고리의 다른 글
| [Keeper-App 5] 선택 아이템 지우기 (0) | 2022.04.17 |
|---|---|
| [Keeper-App 4] notes array 만들어 노트 map()으로 돌리기 (0) | 2022.04.17 |
| [Keeper-App 3] CreateArea 컴포넌트 만들기 (0) | 2022.04.17 |
| [To-Do App] 최종 | input 부분 컴포넌트로 빼기 (0) | 2022.04.16 |
| [To-Do App] 아이템 지우기 | (0) | 2022.04.16 |


댓글